Adding Widgets.
There are many different widgets within the website editor which cover every possible need for your website.
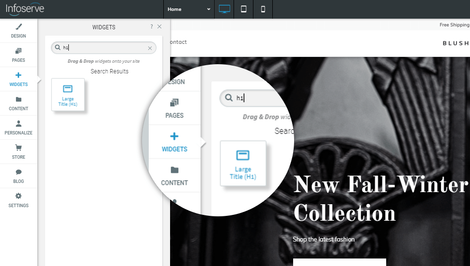
Adding title text to your website
If you are wanting to add title text to your website you should take the H1, H2 or H3 widget from the sidebar and drag them to the chosen area, for any titles on the website it is best to use title text so Google can pick it up for SEO reasons.
Step 1
To add any title text onto your website you can go to the widgets tab and search for either H1, H2 or H3, then simply drag the widget into the chosen area of your website.
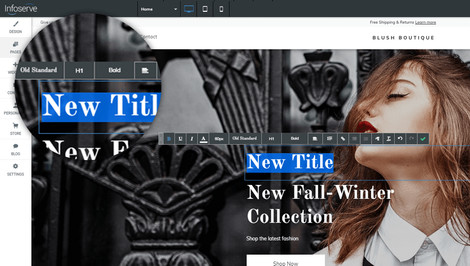
Step 2
Once you have dragged the title text widget into the chosen area of your website it will open up the text tools, here you can change the content or font styling, however the fonts will already be set to match the rest of your websites style so it is best to leave it. Remember to press the green tick to save any changes.
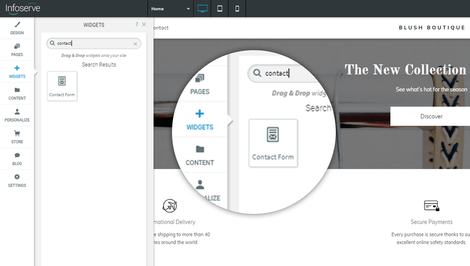
Adding contact forms to your website
Contact forms are very important to include on your website, it allows visitors to contact you instantly without having to search for your contact details, they can be used for messages or for newsletter subscriptions allowing you to collect email addresses for future promotions.
Step 1
To add a contact form to your website you will have to select it from the widgets sidebar and drag the widget into the area you would like it to be visible.
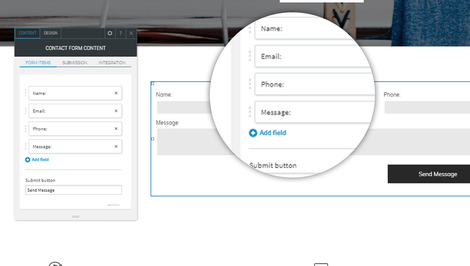
Step 2
Once you have added the contact form into the row or column it will then open a pop up to edit the form, here you can add fields to the form to suit your needs.
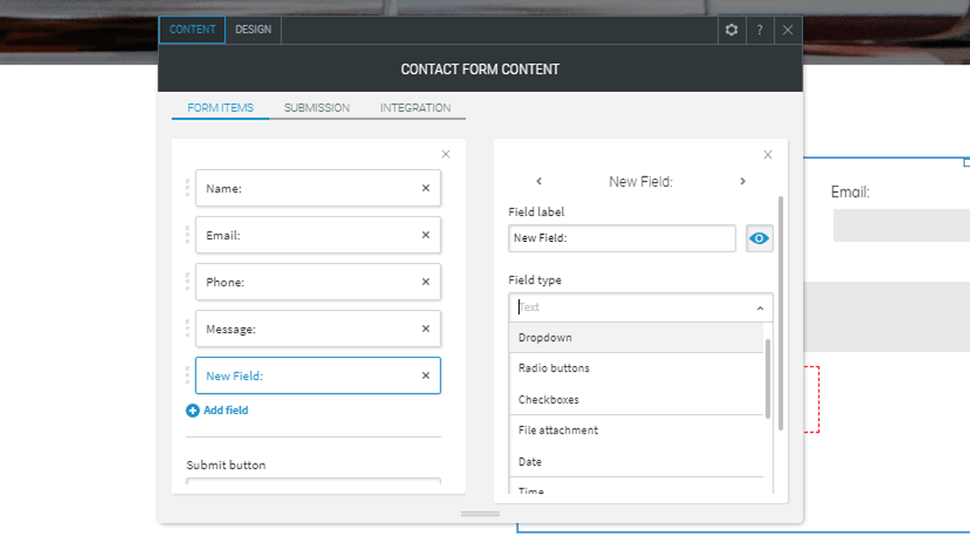
Step 3
When you click on the blue text 'add new field' a secondary pop up will appear, here you can change the name of the input field and also the input type, if the user will be selecting a date you can decide this here, similarly for drop downs and radio buttons.
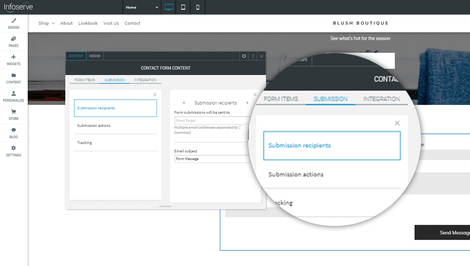
Step 3
When the editor pop up for the contact form appears you will notice three tabs at the top of the pop up, one of them will be labelled 'submission' if you click this it will then allow you to open the submission recipients, here you can add the email address you want the message to go to and also assign it a subject line.
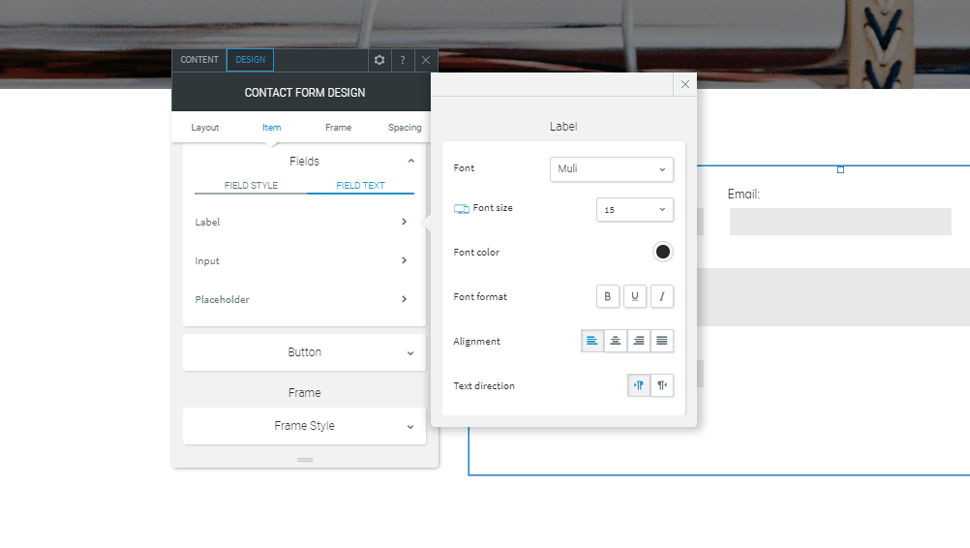
Step 4
If you would like to change the label colours of your form or the field colours you can do this by pressing on your contact form and opening the pop up, here you can select the tab 'design' here you can scroll down to 'fields' and make any changes needed.
Adding a photo gallery to your website
Photo galleries are a fantastic way of showing your company off visually. Users can get a really good feel of your business just from imagery, it also creates a much more personal experience.
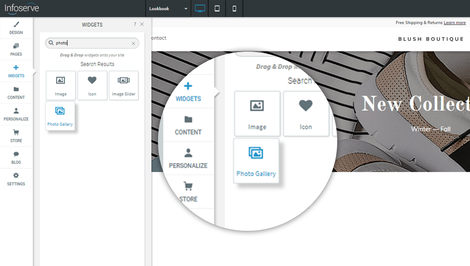
Step 1
If you are wanting to add a photo gallery to your website, you need to drag the photo gallery widget from the sidebar into the area you would like it to display.
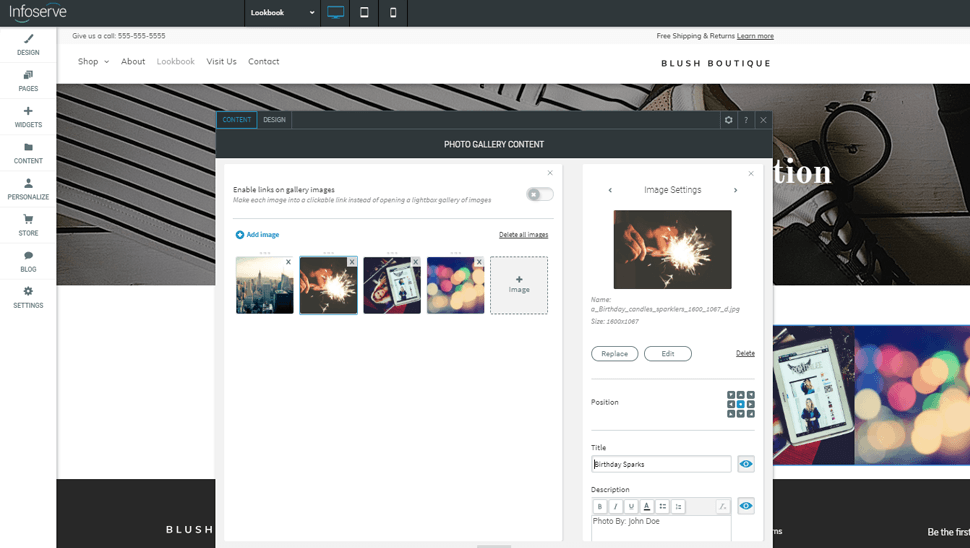
Step 2
Once you have dragged and dropped the photo gallery into the correct row or column the gallery editor will then pop up, it will firstly give you temporary images as an example, you can simply click on the image to replace it or add new images with the '+ image' button.
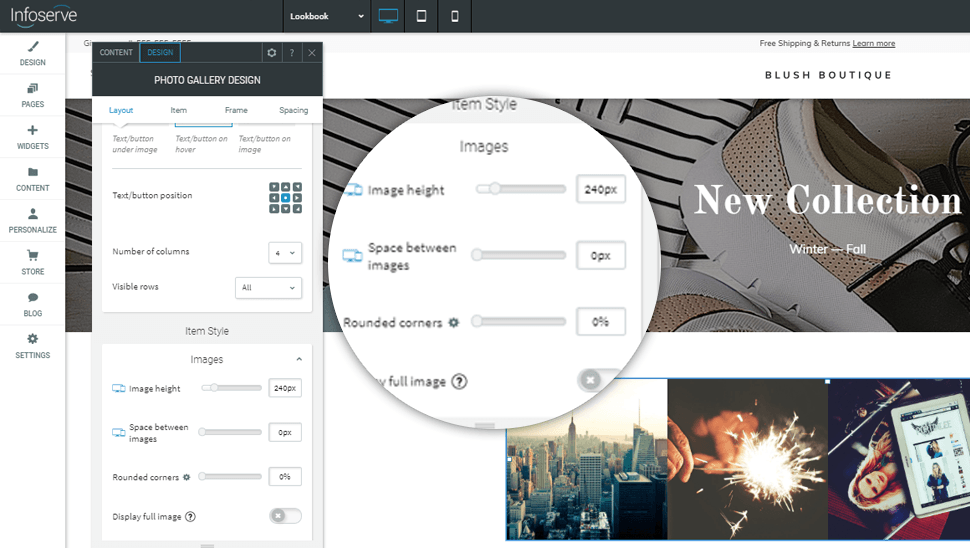
Step 3
If you would like to change the appearance of your gallery you need to click the gallery to open the editor pop up, here you can change the amount of images visible and also spacing between the different images.
Adding an image slider to your website
An image slider is a great way to show a selection of promotions or before and after images depending on your industry, an image slider allows you to add as many images as you want for the user to be able to scroll through. You can also add text on top of the images which is great to promote a product.
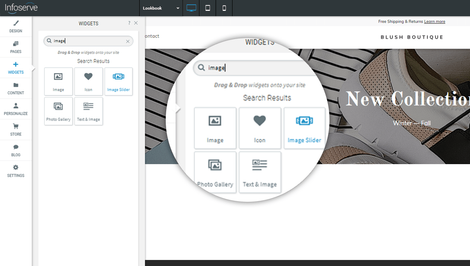
Step 1
To add a image slider to your website you will have to select it from the widgets sidebar and drag the widget into the area you would like it to be visible.
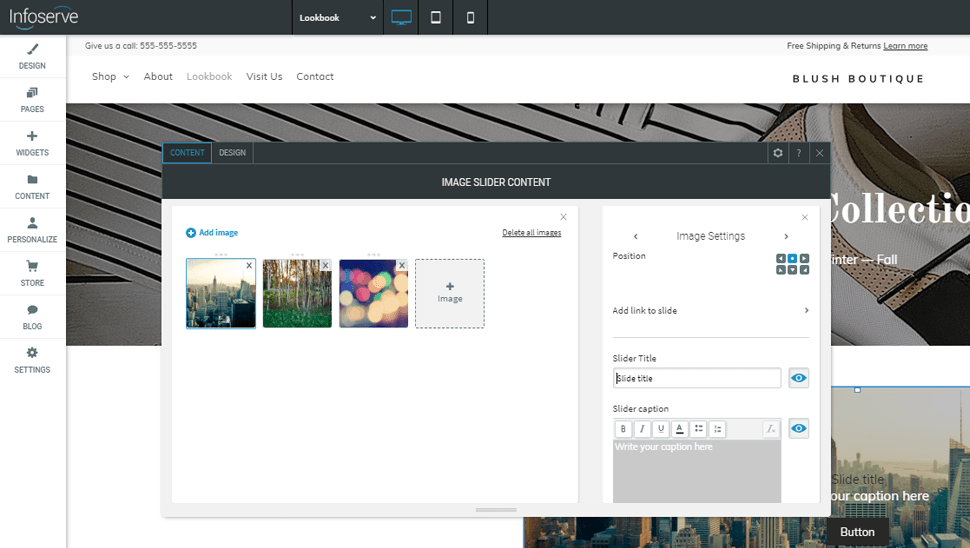
Step 2
Once you have dragged the image slider into the selected area of your website it will open the below pop up with some example images, if you click on one of the images it will open a secondary sidebar, here you can replace the image with your own and also change the text that will appear on top.
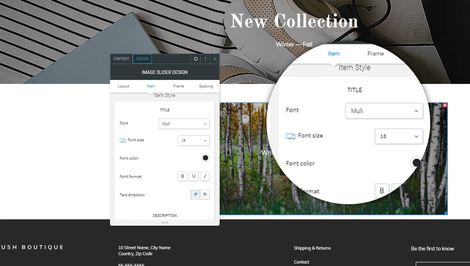
Step 3
At the top of the slider editor pop up, you will see two tabs, one labelled 'design' here you can change the text size, colour and font for your overlay text.
Adding linked social icons to your website
If you have social media for your business it is very important that you include them on your website, this helps increase your online presence and can lead to a lot more people hearing about your company.
Step 1
If you are wanting to add social media icons to your website, you need to drag the widget from the sidebar into the area you would like it to display.
Step 2
Once you drop the social media icons into the website, a pop up will appear. Here you can select the social media platforms you would like to include, if you scroll down you will see the input fields for each social platform - you will paste the links to the social accounts here.
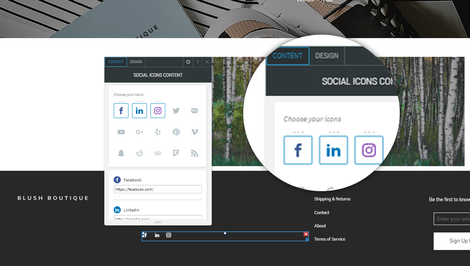
Step 3
When you have selected your chosen social icons you can then select the design tab at the top of the pop up, here you can select what style icons you would like and also what size you would like them to be.
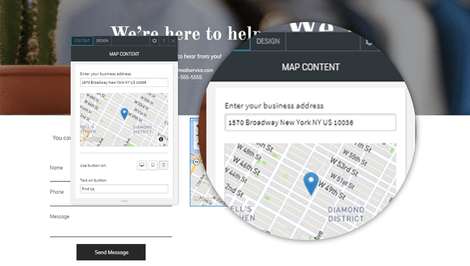
Adding an interactive map to your website
A map is great feature to add to your website, it allows customers to instantly know exactly where you are.
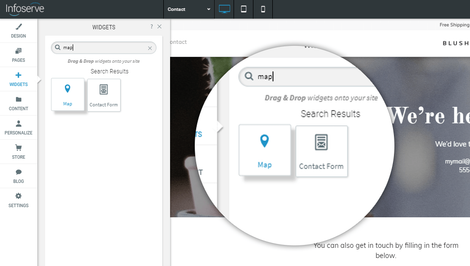
Step 1
To add a map to your website you will have to select it from the widgets sidebar and drag the widget into the area you would like it to be visible.
Step 2
To expand the map on your web page you will have to click and drag the blue square in the bottom right corner of the map and scale it up or down within the row or column you have placed it inside.
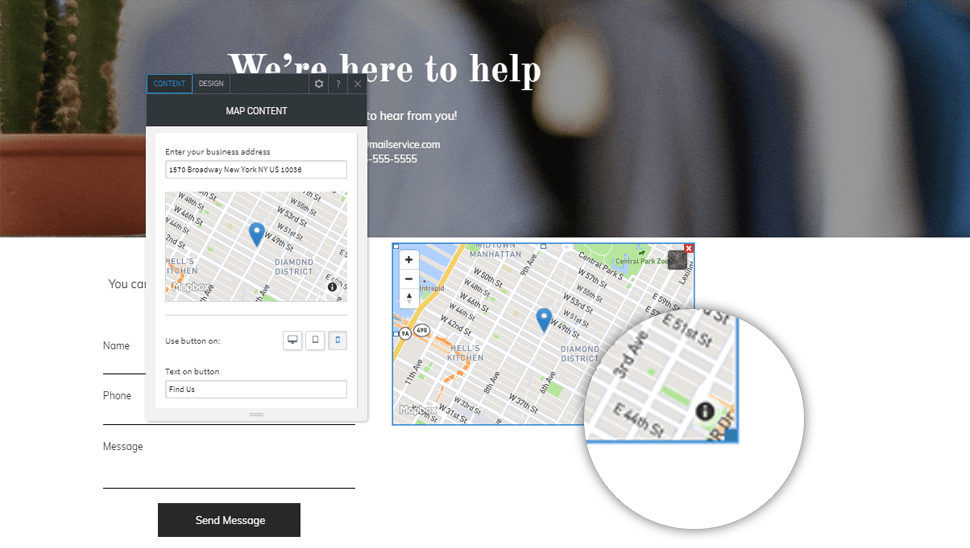
Step 3
To change the location of the map you simply have to click on the map to open the pop up editor, here you will see an input field with an example address, if you replace this address it will automatically update on the map.