Getting Started.
Take a look at the different step by steps below to help you getting started with your new infoserve website.
Adding rows and columns to your website
Your website is made up of rows, rows are needed to add anything to your website, whether you want to add the content into an existing row or add a new one. Rows can also be split up into a maximum of four columns, this is useful if you would like content boxes side by side.
Step 1
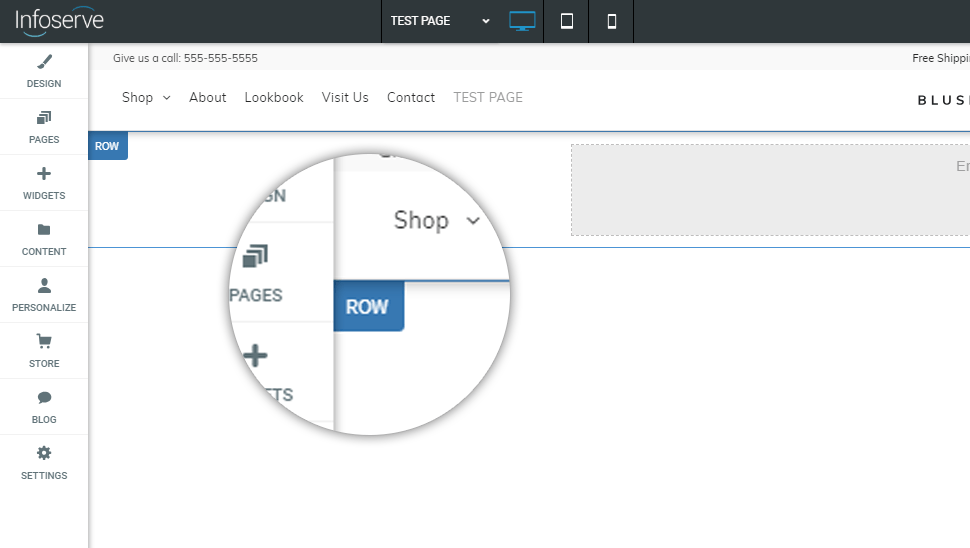
On the left hand side of all sections you can find a blue tab when hovered over, labelled 'row' you can right click on the tab to open a selection of options.
Step 2
Once you have right clicked on the row tab you will then be able to see a list of options, here you can add a row, add columns and also copy and paste an entire row.

Step 3
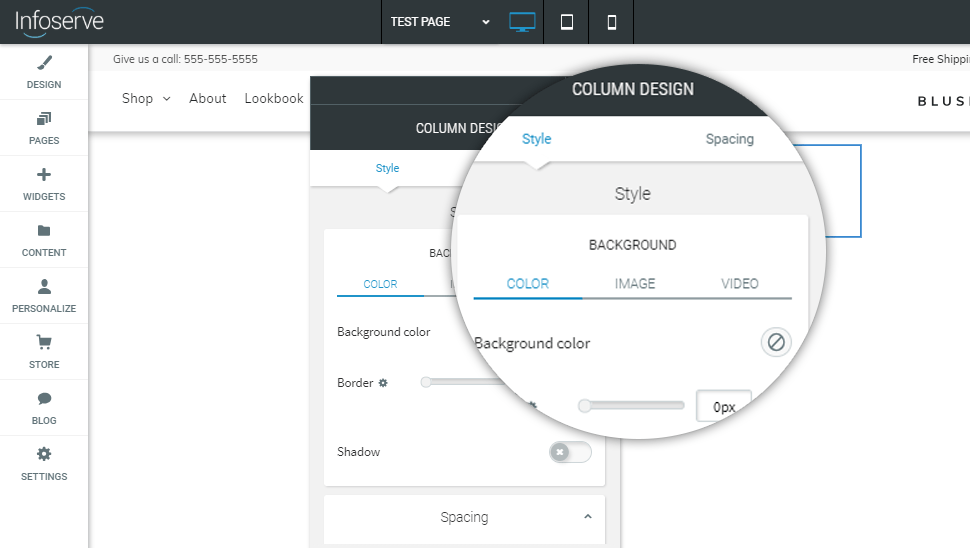
You can go to the option 'edit design' to open the below pop up, here you are able to change the colour of a row or column. If you select image you can change the background image allowing text to be placed over the top.
Step 4
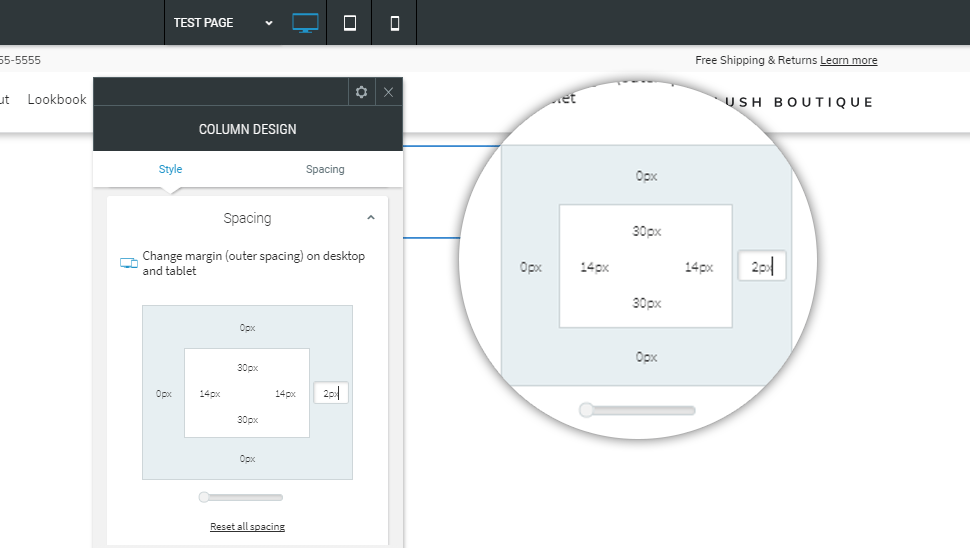
If you select the 'spacing' tab within the pop up you will see the below screen, this is where you can change the padding and margin of the chosen section. Margin is changed on the outer ring and padding is the inner values.
Adding and editing text on your website
Use text tools to change the look of a Paragraph or Title widget. Change the font, color, alignment and style of text using a simple editing interface. This lets you quickly make style changes to specific text on your site to highlight key points and organize information.
Step 1
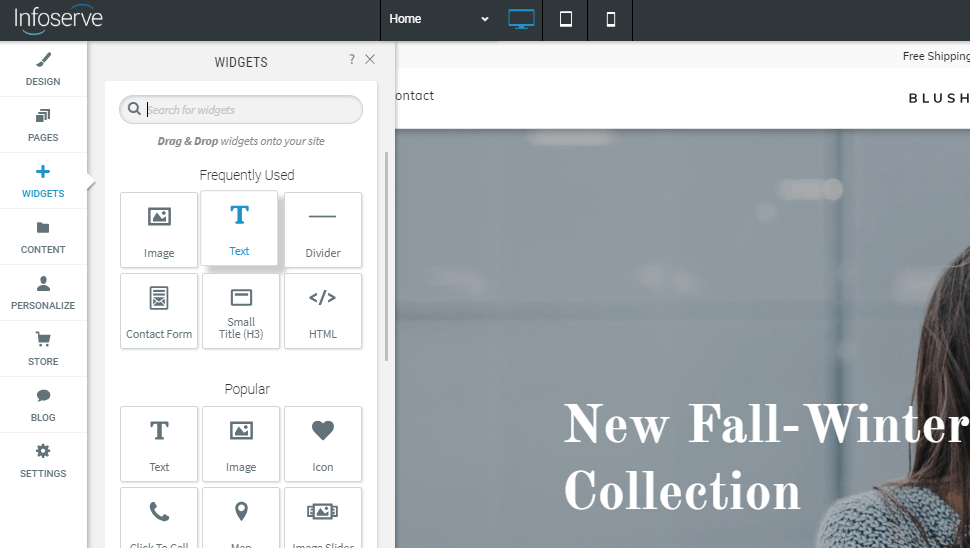
Once you are in the editor on the left hand side will be a selection of buttons, click on widgets and drag the 'text' widget into your chosen row or column.
Step 2
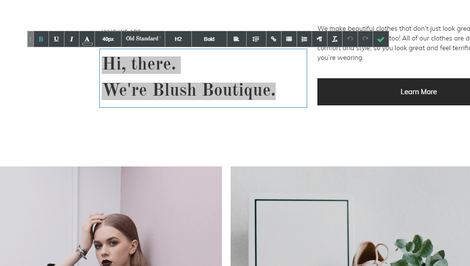
When you have placed the text widget into a section of your website you will see the following text tools pop up either when the widget is dropped or when you click on the text box. Here you can change the colour, font, weight and alignment.
Step 3
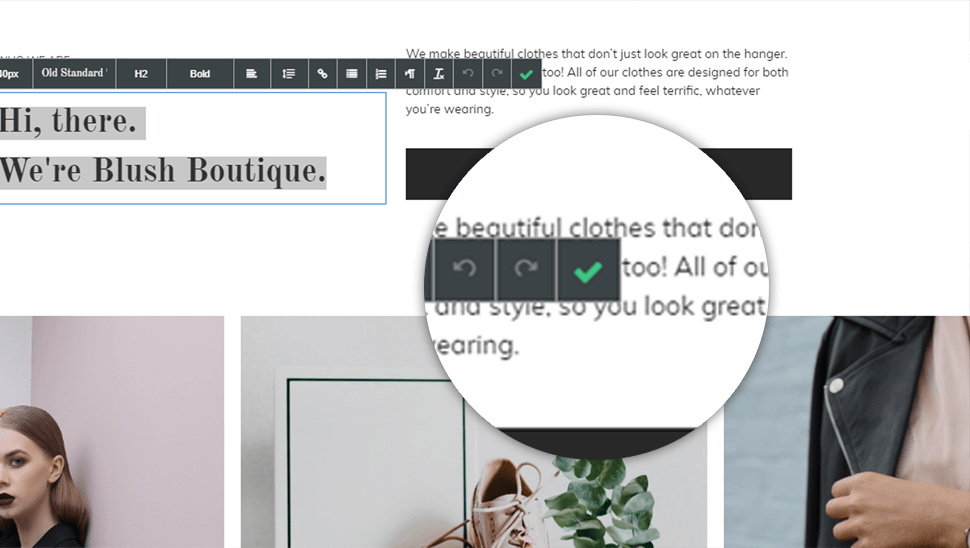
It is very important that after you have completed any text changes that you press the green tick, this will save any amendments to the content.
Adding & replacing images on your website
There are two ways of adding images to your website, you can either add images into a row or column background which allows you to add text on top of the image, or you can drag an image widget into a row or column.
Step 1
On the left hand side of the website editor, under the widgets tab you can drag the image widget into one of your rows or columns.

Step 2
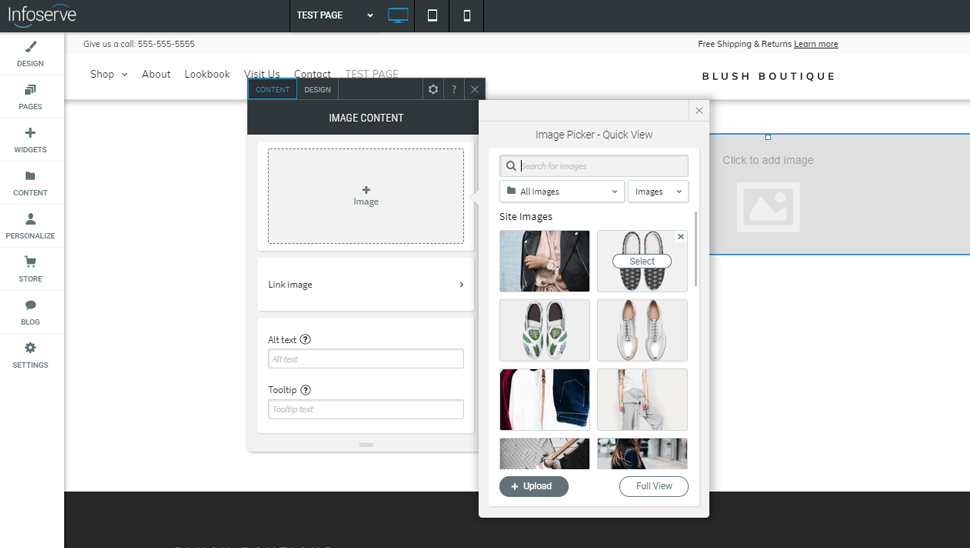
Once you have dropped the image widget into the selected row or column, the below pop up will appear, here you can upload images or find images in your online library.
Step 3
Once you have dropped the image widget into the selected row or column, the below pop up will appear, here you can upload images or find images in your online library.
Step 4
If you would like to place text over an image, or have an image the full width of your website you need to right click on the row or column and go to background image, here you can upload the image of your choice and also select a background overlay if needed.
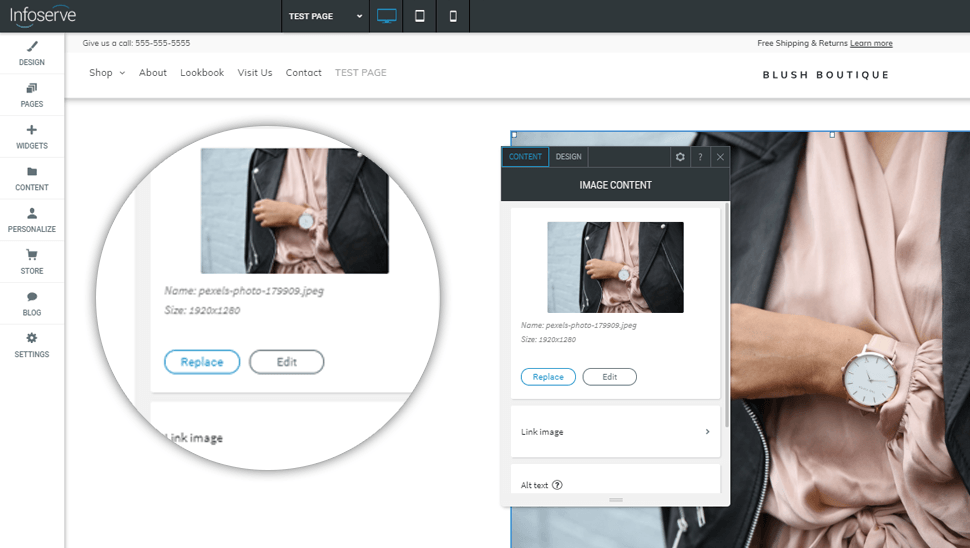
Step 5
If there is an image already existing on your website, in order to replace you it; you simply need to click on the chosen image and a pop up will appear with a button labelled 'replace' this will then open your image library.
Adding pages to your website
Use text tools to change the look of a Paragraph or Title widget. Change the font, color, alignment and style of text using a simple editing interface. This lets you quickly make style changes to specific text on your site to highlight key points and organize information.
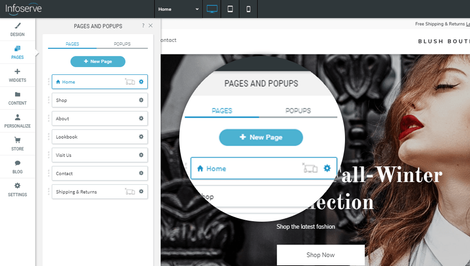
Step 1
In order to add a new page you must go the pages tab on the left hand side of the website editor, this will open a second window with a list of your site pages and a button labelled '+ new page', click this to open your page options.
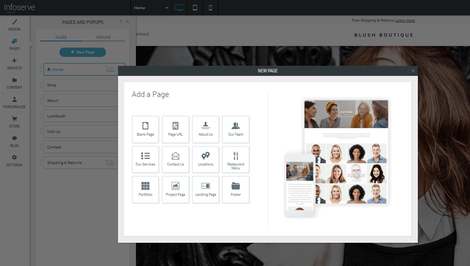
Step 2
Once you have clicked on the 'new page' button the below pop up will appear giving you the different page types, choose an option that suits your needs the best.
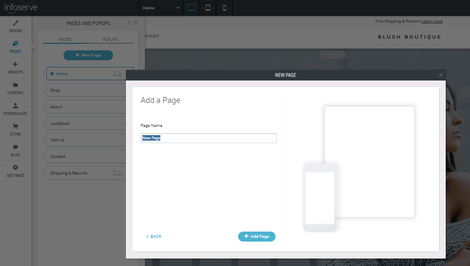
Step 3
When you have a selected a page type that suits your needs the best you will then be able to choose a name for your website, this will appear in the URL of the page therefore it should be relevant to the content that will be on it.
Step 4
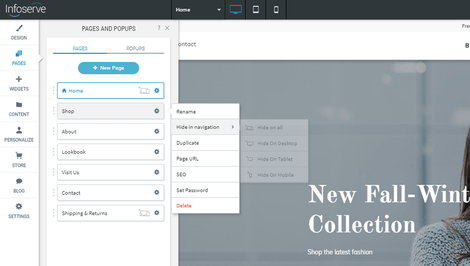
On the right side of each page name there is a cog icon, if you click this icon it will open more options for you to choose from, you can select which devices you would like the page to be shown on the navigation and which devices you would like it to be hidden on.
Republishing your website
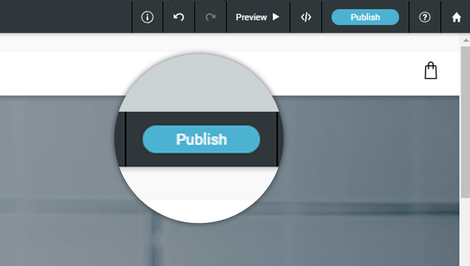
If you have been given login details to your dashboard already there is a high chance that your website will already have been published, therefore the blue button at the top right of your screen will now say 'republish', this needs to be pressed after all changes to push them onto the live version of your website.
Step 1
When you have completed any changes to your website and you want to make them live / public on the internet you need to press the 'republish' or 'publish' button.
Creating a backup of your website
It is very important for you to create backups of your website after every major change on the site, a backup allows you to go back to a certain point in time where you know the website worked well, this is great if you are playing around with some code and you are unsure of the outcome, make a backup first.
Step 1
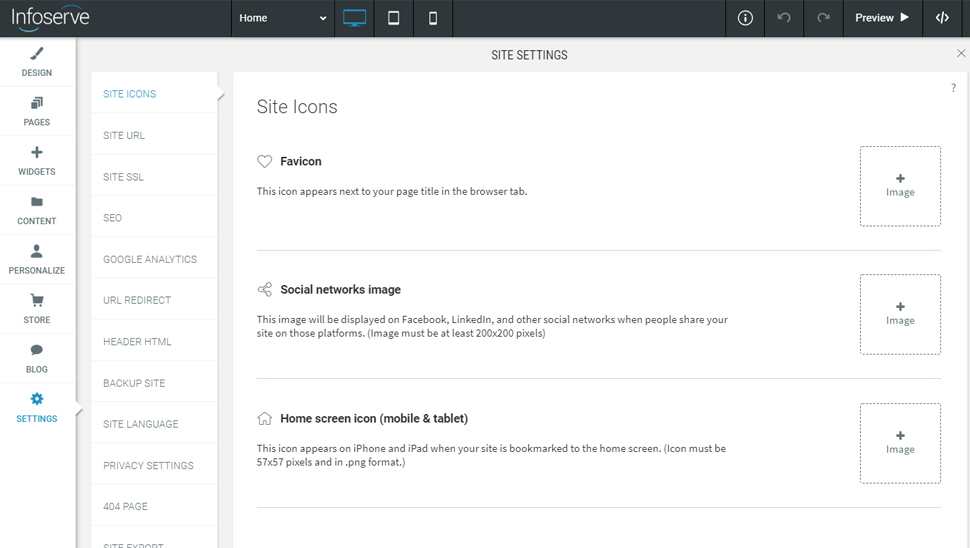
The first thing you want to do is head to the 'settings' section of the editor, once pressed it will open up a side window with more options, you want to select backup site.
Step 2
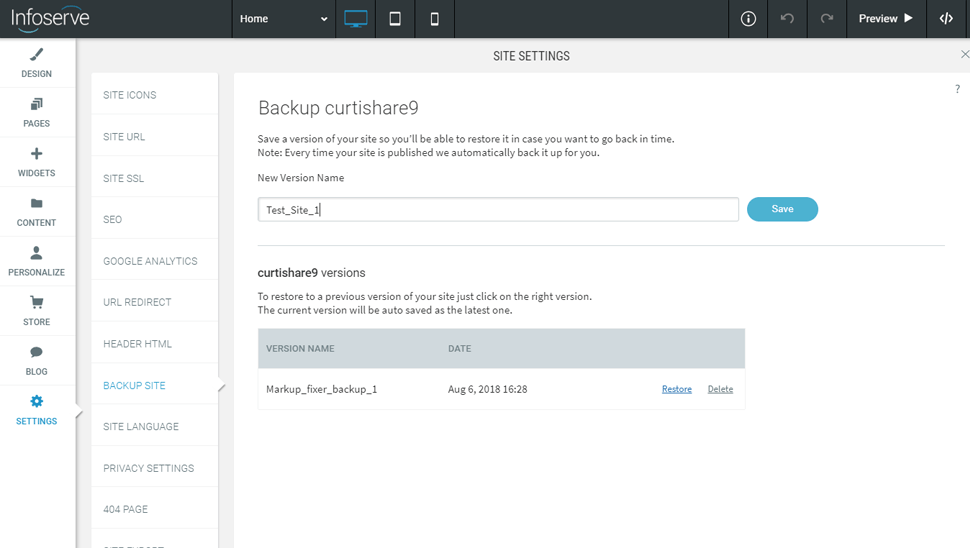
Once you have opened up the backup side window you will see an *name input field, here you can decide on the name of your backup, it may be sensible to include a date so you have some context when using the backup.
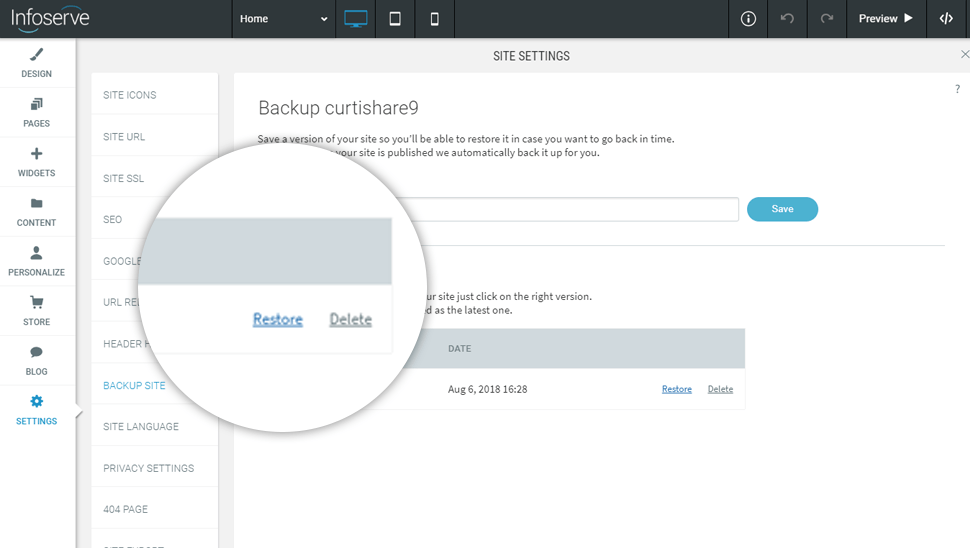
Step 3
If you are wanting to go back to a stage of the website where you have set up a backup you simply need to go to the backup area, find the backup you wish to use and click the blue restore button. it is always worth creating a backup before doing this incase you want to revert back.